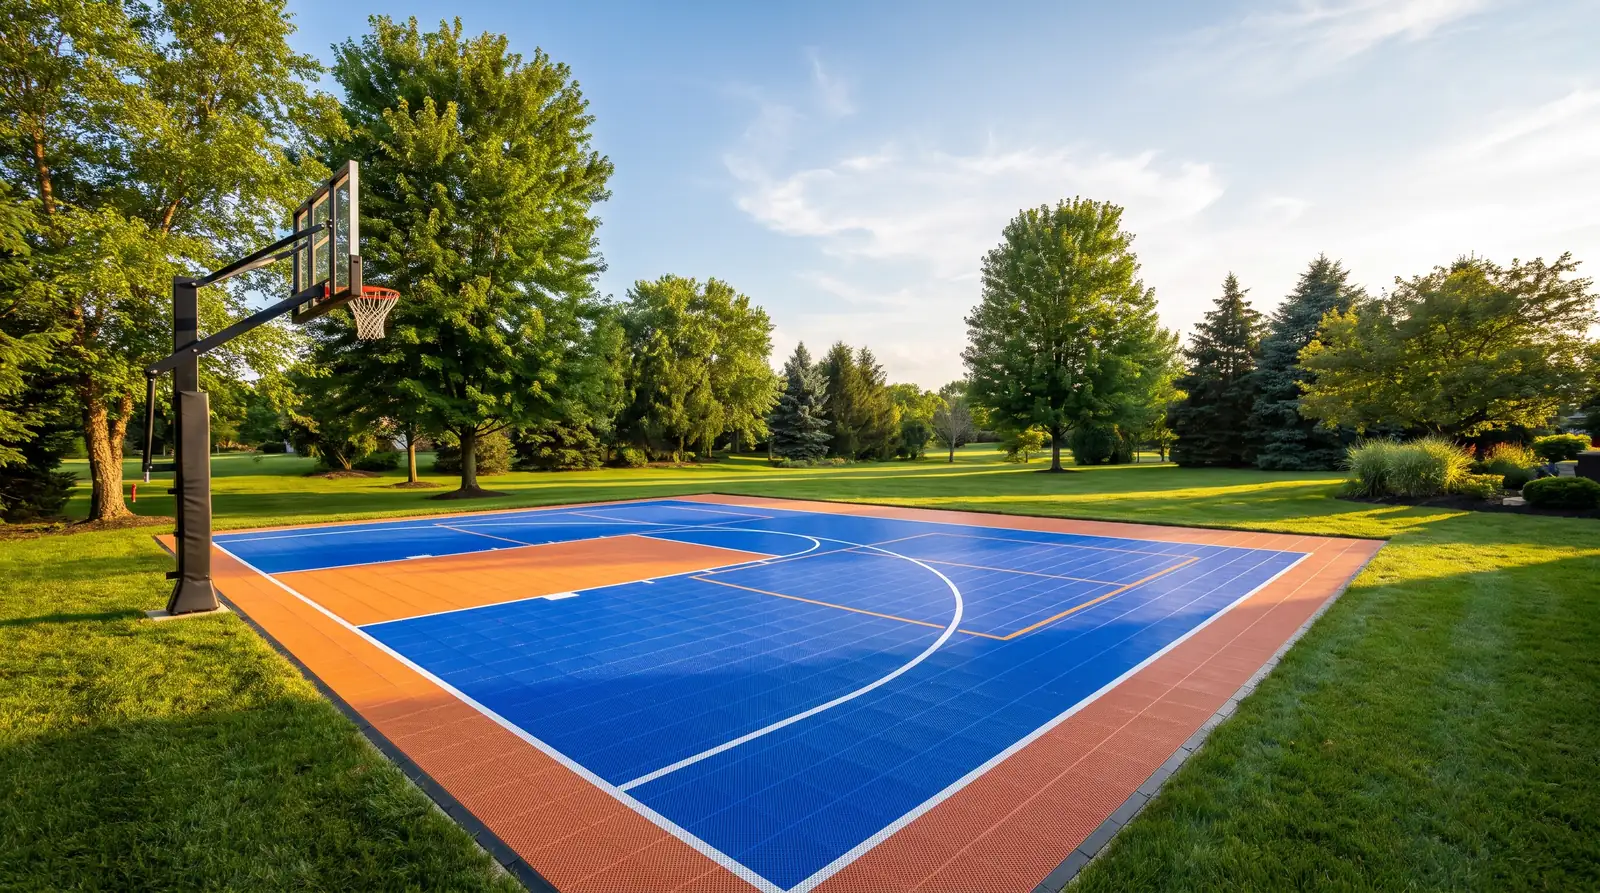
DIY Basketball Court: How to Build It and When to Hire a Pro
A DIY basketball court is a realistic weekend project if you already have a flat concrete or asphalt pad. Game Tile Courts™ tiles snap together without adhesive or special tools, and two people typically finish a 40 × 60 ft court in six to ten hours of tile time. The base underneath is a different story. Here's how to build the court yourself, and when to hire a pro.
How to Build a DIY Basketball Court: The Steps
A modular court is two jobs stacked on each other: the base underneath and the tile on top. The five steps below cover a DIY backyard basketball court from bare pad to first game. They condense our full eight-step guide to sport court installation, which adds tool lists, cure times and delivery checks.
Step 1: Check the Base (or Hire It Out)
Before you order anything, test the pad you plan to build on:
- Lay a 10-foot straightedge across it in several directions. Deviation within about 1/4 inch is tile ready.
- Check the fall. Roughly 1% (about 1/8 inch per foot) sheds water without hurting play.
- Read the cracks. Hairline cracks under 1/4 inch are fine. Fill anything wider than 1/2 inch with a concrete patching compound.
- Hose it down and watch for standing water. No tile fixes a base that holds water.
Bare dirt, grass and mulch will not support a tile court. If you have no pad, you need a new base before you can build anything, and that is contractor work.
Step 2: Layout and Centerline
Snap a chalk centerline down the long axis of the slab. Every tile, line and logo references it. Find true 90° corners with the 3-4-5 triangle method, then dry-lay the first row along the centerline, working outward in both directions.
Keep your approved CAD layout printed and on site, and let the tiles acclimate to the outdoor temperature for at least two hours before you start snapping. Cold tiles snap tighter and warm tiles snap looser.
Step 3: Snap In the Tiles and Anchor the Edge
Engage the tile tabs with a rubber mallet, using firm, even taps along each seam, and work in rows away from the centerline so the field stays square. Start in the middle and finish at the edges, so any cut tiles land at the perimeter where the edge system hides them.
Do not screw down the field. It floats, so the surface can expand and contract with temperature swings instead of buckling. Our step-by-step guide on how to anchor court tiles shows which edge to fasten with Tapcon concrete screws and how far apart to set them.
Step 4: Game Lines
Line tiles arrive factory-painted in your kit colors. Drop them in where the CAD shows keys, 3-point arcs, kitchens and service boxes, then add any logo tiles last. If you are adding a net sport, posts go in one of two ways: sleeved into the base before the tile is laid, or surface-mounted on plates after the tile is down.
Step 5: Edges, Ramps and Hoop
Install the ramped edges and corners around the entire perimeter. Along the anchored edge, the ramps snap over the screw heads and hide them. Hoop placement and backboard overhang are dimensioned in your CAD and confirmed before installation, and a hoop wants 15 ft or more of overhead clearance.
Finish by walking every seam: tiles should sit flush with no raised tabs or gaps. Then register your limited product warranty in your Locker Room portal.
Base Work: Quoted by a Licensed Local Contractor
The base controls drainage, flatness, ball bounce, longevity and warranty eligibility, and a great tile cannot rescue a poor one. Game Tile Courts™ does not pour concrete or asphalt. Base work is quoted separately by a licensed local contractor. Certified installers handle tile, lines, hoop and net placement.
The specs reward a professional: a residential concrete base should be a minimum 4-inch reinforced slab with control joints and roughly a 1% slope. Unless you pour concrete for a living, hire this part out. Grading, drainage and cure windows are not weekend skills. Setbacks and permit rules land here too, so call your building department before you order.
The Tile Is Genuinely DIY Friendly
Once the base is right, a DIY sport court is well within reach. Our basketball court tiles snap together without adhesive, and your tile count, edges, ramps and corners are calculated from your approved CAD, so there is no guesswork about what to order. The same holds for a DIY backyard sport court built for pickleball or several sports.
What you need on hand:
- Rubber mallet for seating the tile tabs along each seam
- Chalk line, tape measure and framing square
- Utility knife, plus a circular saw with a fine-tooth blade for the occasional perimeter cut
- Drill with a masonry bit and Tapcon-style concrete screws for anchoring
- Your approved CAD layout, printed and on site
Plan on two to three people. One can do it, but two keeps the rows straight and three makes the day short. A DIY outdoor basketball court on an existing pad is mostly a tile weekend; if you are building a base, the base is the long part and DIY only changes who spends the tile days.
Where DIY Installs Go Wrong
Most DIY basketball court backyard projects that go wrong fail in predictable ways, and nearly all of them happen before the second row of tile goes down:
- Starting at a wall instead of striking a chalk centerline down the long axis
- Assuming the slab corners are square instead of checking them with the 3-4-5 method
- Ignoring slab flatness. Bigger high or low spots need grinding or a self-leveling compound first
- Anchoring the field, which takes away the room the surface needs to move
- Snapping tile straight off the truck before it acclimates
- Signing for the delivery before inspecting the pallet and counting cartons against the packing list
Measurement error is the expensive one. An inch of drift shows up later as tiles that will not fit cleanly at the perimeter and a hoop or net that fights the layout.
When a Professional Install Is the Right Call
Some jobs are not close. Hire a certified installer if any of these describe yours:
- You have no existing subfloor and need concrete or asphalt poured (a licensed local contractor quotes that base)
- Your yard has drainage or leveling problems
- You are setting in-ground net posts or sleeves
- You have a complex layout, such as basketball and pickleball stacked on one surface with logo tiles
- The job is commercial, school or community scale
- You want the warranty-backed installation guarantee
A professional tile install includes:
- Site assessment and measurement
- Full tile installation with edge and ramp pieces
- Game line layout and marking
- Hoop and net placement to your approved CAD
- Post-install inspection and customer walkthrough
We manage projects directly across New Jersey, New York and Connecticut, ship court kits nationwide, and work with a certified installer network everywhere else. Tell us your city and project type to get matched with basketball court builders in our network.
Frequently Asked Questions
Q: Can I build a basketball court myself?
A: Yes, if you have a flat, sound concrete or asphalt pad. A DIY home basketball court is mostly a tile job: the tiles snap together without adhesive, and two people typically finish a 40 × 60 ft court in six to ten hours of tile time. If you need a new base, a licensed local contractor builds that part.
Q: How long does a DIY sport court take to install?
A: The tile itself takes two people six to ten hours for a 40 × 60 ft court. The whole project usually runs four to eight weeks from approved CAD to first game, because base prep is the long part. On an existing pad, the tile days are close to the whole schedule.
Q: Is a sport court DIY project cheaper?
A: Skipping install labor is the biggest single lever you control on your all-in quote, and it matters more as the court gets bigger. It does not shorten the project if you are building a base, because the base is the long part either way.
Q: Does DIY installation void the warranty?
A: Doing it yourself does not void it. The limited product warranty covers manufacturing defects and does not depend on who lays the tile. It does depend on how: coverage requires the tiles to be installed to the recommended guidelines on a stable, hard, level base, and improper installation is excluded no matter who does the work. The term itself is set per tile line, starting at 7 years, and the exact figure is in the spec table on your tile's product page.
Q: How long does professional installation take?
A: A typical 40×60 ft court takes 1-2 days with a full crew.
Q: Can I start with DIY and add professional services later?
A: Yes. Many customers lay the tile themselves and hire out only the parts they do not want to own. Base work is quoted separately by a licensed local contractor, and certified installers can take on tile, lines, hoop and net placement. Every DIY court still starts from the same approved CAD layout.